2.2 Flash beacon installation
ℹ️ 📕Quick Start Guide
This short PDF guide gives you an overview of the most important steps while installing a Flash Beacon.
The quick start guide is available by clicking here.
1 - Unpacking and access to connection
1 - Unpack your flash beacon
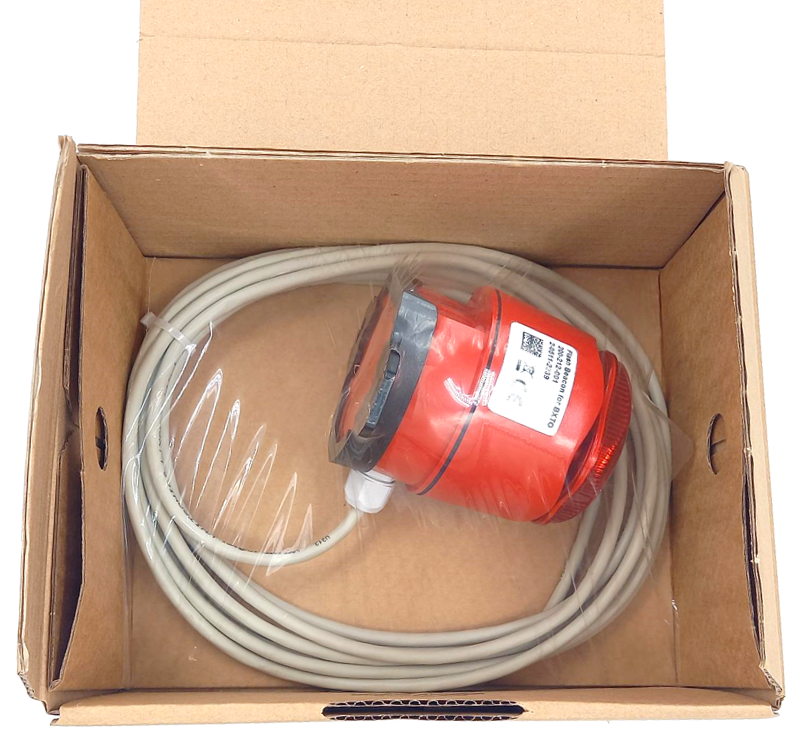
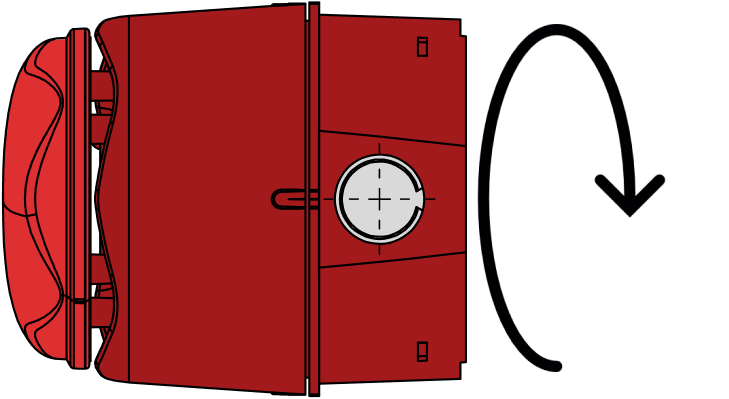
2 - Release the cable gland to free the cable and turn the base to open it
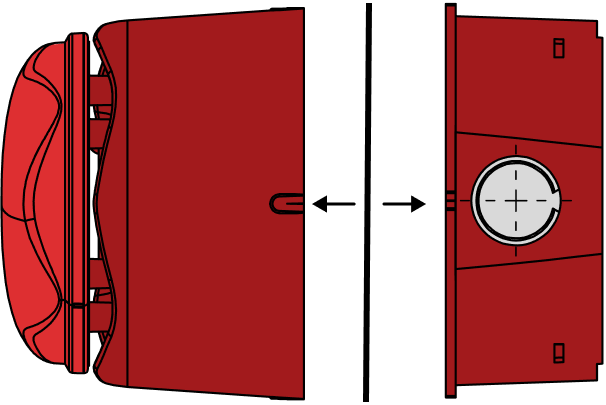
3 - Separate the two parts
Please, pay attention to the seal between the two parts
2 - Adjust the volume
1 - Adjust the sound output level via switches 7 & 8 on the switch bank

The default sound is 90 dB
3 - Connect the Flash Beacon to the Processing unit main cable
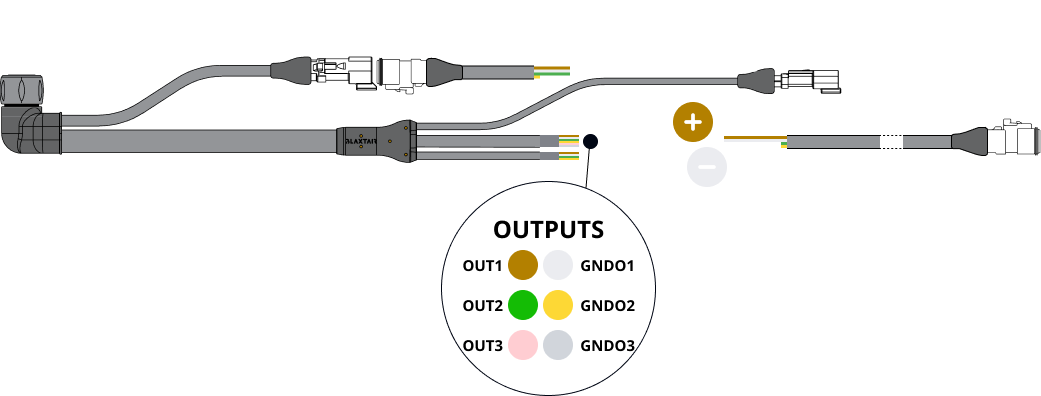
To connect the Output cable and the flash beacon extension cable
Connect
 to Out1
Connect
 to GNDO1
4 - Connect the Flash Beacon to the Processing unit main cable
To use the Flash Beacon, activate the output mode "Warning Device"
ℹ️ To activate the output mode, follow the instructions in the Outputs' management
